One of the main challenges of an SHTF world is that most of us wouldn’t have electricity any more, and we’ll have to go back to pioneer days in a lot of ways, including living without refrigerators.
If the power goes out for a lengthy period of time, and you have no refrigeration, your butter isn’t going to last too long. According to the USDA, butter lasts about 2 to 3 days at room temperature.
I don’t know about you, but I love me some butter, and I will be sad if there comes a day when I can’t have any more. It’s also an important ingredient in a lot of recipes.
Fortunately, there is a long-lasting solution for shelf-stable butter, and it involves making ghee from butter. In a TEOTWAWKI scenario, hopefully you can trade with a farmer who has dairy cows – this is why it’s good to have barter items – and get access to cream to make your own butter, but then, what do you do if you don’t have a fridge?
You make a lot of that butter into shelf-stable ghee that can last for months, that’s what.
Ghee is a type of clarified butter made of cow milk, and likely originated in the Indus Valley, where traces of it have been found in ceramic pots that are thousands of years old. It was used in food, medicine, ritual, and as a cosmetic. It is popular and widely used in India.
Not only is it delicious and shelf-stable (and can last in the refrigerator for up to a year), it’s incredibly easy to make.
So, oh, Ghee, shall we get started? (Sorry not sorry.)
Ghee Recipe
Equipment:
- Saucepan
- Clean Mason jar and clean lid
- Paper towels
Ingredients:
One pound of unsalted butter
Why unsalted? To be honest, I don’t know why, but all the ghee recipes say so, so I just make it unsalted. Also, if you’re using it in a recipe, it will be just like using unsalted butter, so you won’t accidentally add in additional salt.
Ghee is made by boiling away the water in milk. Commercial butter is about 80 percent butterfat and 15 percent water.
To start, chop up a block of butter into little pieces.
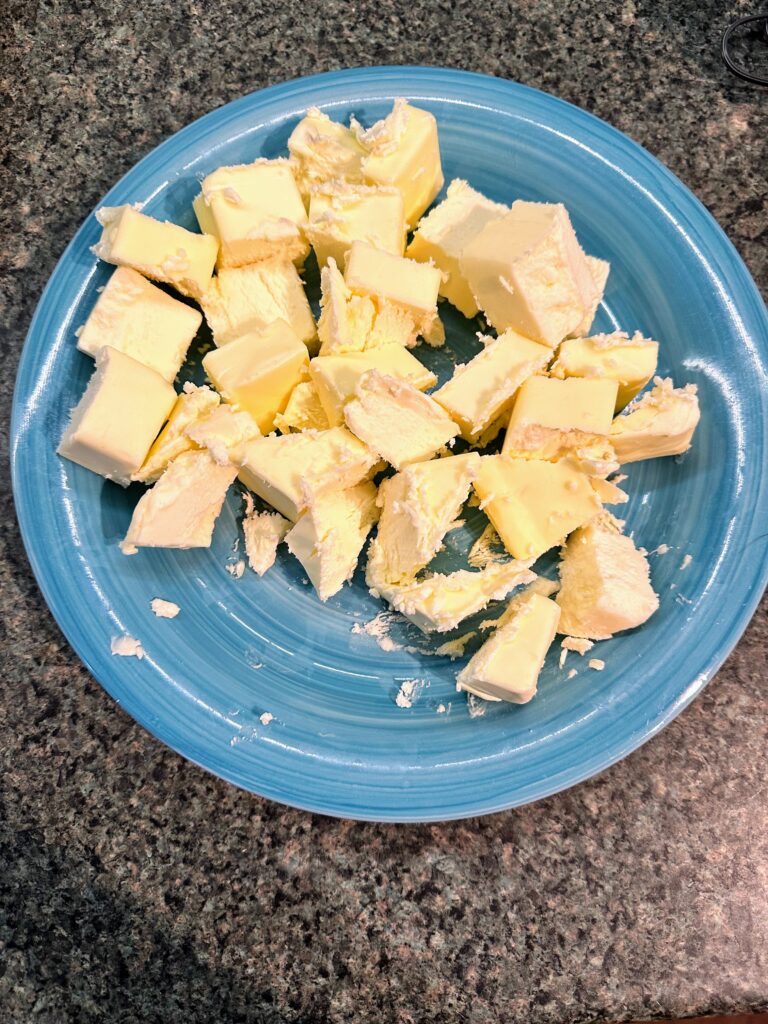
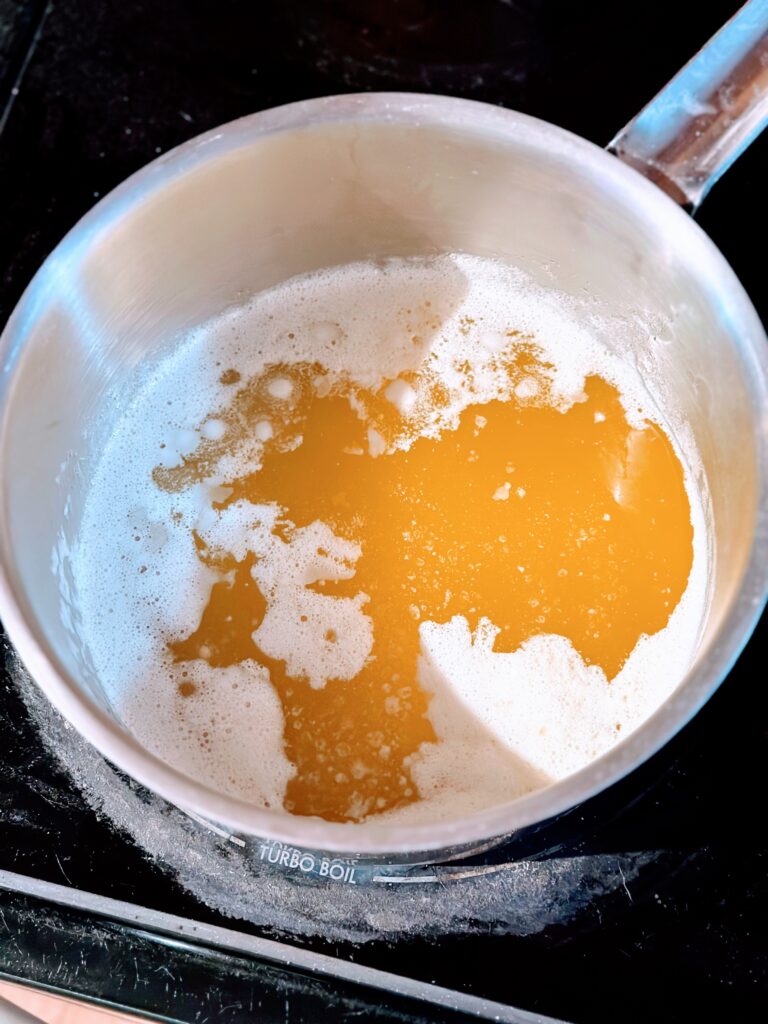
The butter will melt faster if it’s chopped up.
Put the chopped up pieces in a saucepan, and set it to low heat. Keep an eye on the butter. First it will melt, and a froth will form on the top. That’s the whey. No whey! I mean, we don’t want any whey. Skim it off with a spoon, and either discard it – gasp! – or, keep it to use in recipes or spread on toast.
The butter is now what is called clarified butter.
You’re not going to stop yet, though, because it’s not ghee yet.
Keep boiling it at that low boil, and keep an eye on it. The butter will turn golden brown. Now, you are ready.
Remove the pan from the stove and let it sit for a few minutes to cool. There will be brown bits floating around that need to be strained out. These are the milk fat solids.
Next, line a metal sieve with a paper towel. Pour your ghee through the metal sieve, into a clean mason jar. Do not pour your hot ghee through a plastic sieve that could melt. Ask me how I know. RIP, sieve. You will be missed.
When I am pouring, I like to use a metal mason jar funnel to avoid spills, because cleaning up greasy spilled ghee is never fun. Yes, I melt sieves and I also spill things. Seriously, when the zombies come, I’m just going to trip over my own shoelaces and that will be it, but I’d like to at least pretend that I’ll last to annoy my family for another few decades into the apocalypse, so I’m going to keep prepping.
How To Use Ghee
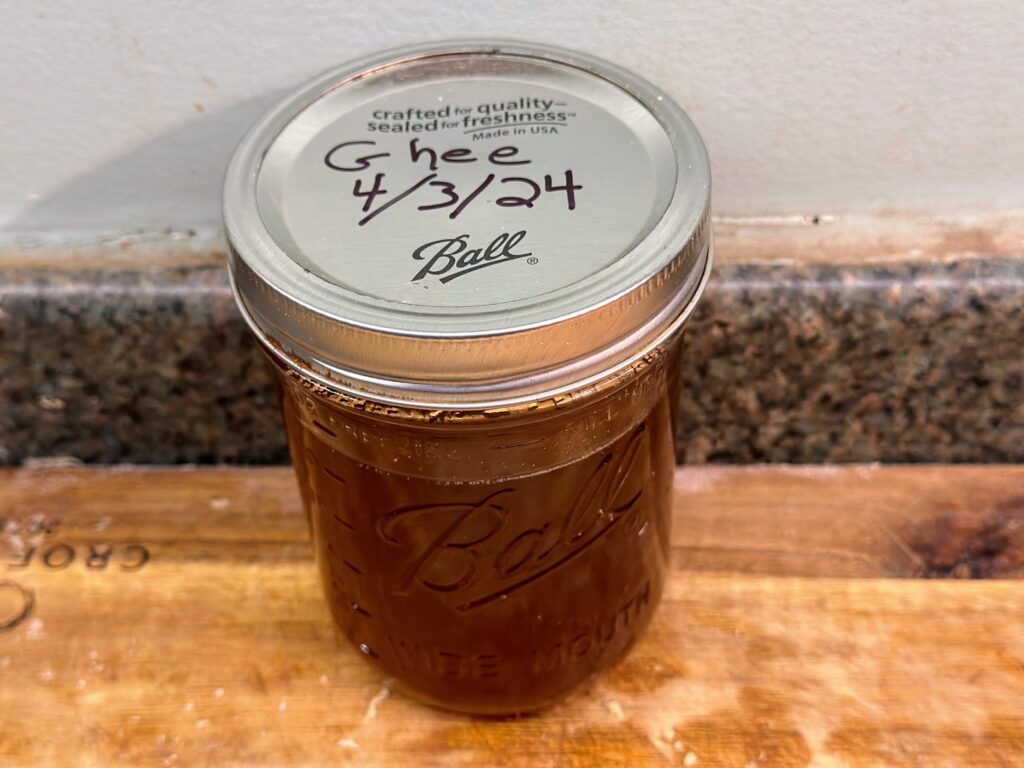
Ghee can be used as a 1 to 1 substitute for any butter recipe. It can also be spread on toast.
Here’s my suggestion: I love the flavor of ghee, but not everyone does. My recommendation is to make one batch of ghee using one pound of butter, and try it in some recipes. If you don’t like it, not a big loss.
If you do like it, make a few jars and that way if you experience a long-term power outage, you’ve got plenty of shelf-stable butter that will last you for months and months.
