If you’re planning on bugging in long-term, you’re going to also need to create a survival garden.
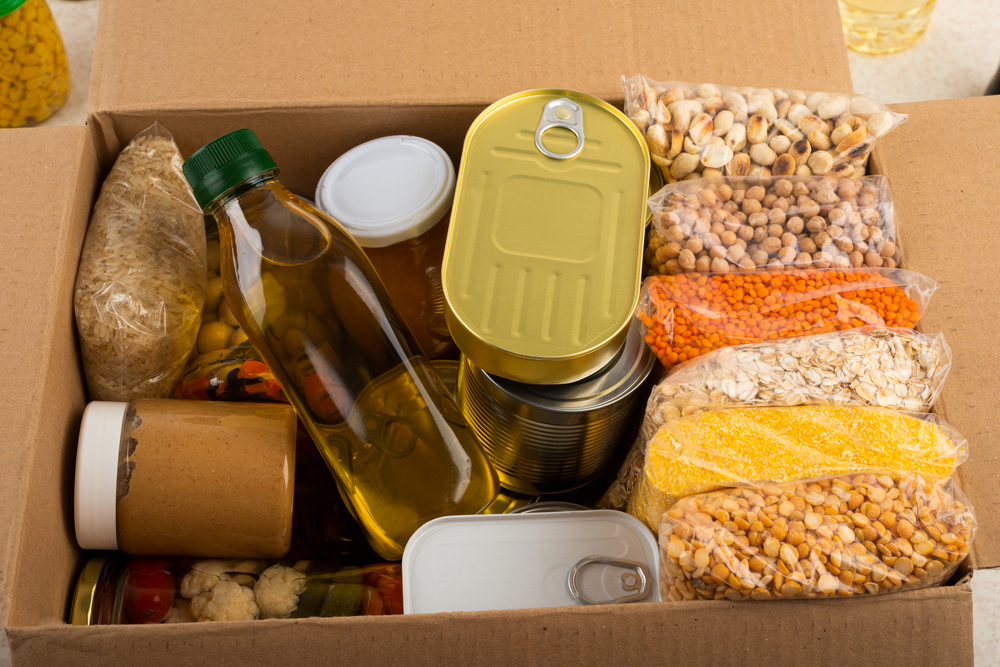
I’m all about buying stockpiling foods with a long shelf life, and they certainly last a long time – up to 30 years in some cases – but it’s going to be pretty hard for you and your family to live off of just those foods alone, indefinitely. A Readywise one year emergency food supply for one person currently sells for $3359.88. It consists of 24 buckets, each one weighing about 18 pounds, which is going to take up a decent amount of space, and remember, that’s just enough food for one person, for one year. (2000 calories a day for 360 days is what they advertise.)
So for a family of several people, a year’s worth of food would get pretty expensive and take up a lot of room. You’re also going to want to supplement that food with fresh fruits and vegetables, because canned/dehydrated foods are going to get tiresome after a while.
If the grid goes down, if the supply chain collapses, you won’t be able to go to the grocery store and unless you’re a millionaire with a giant storehouse full of dehydrated food, you’re going to have to learn how to garden.
The ability to grow your own food is going to mean the difference between life and death in a TEOTWAWKI situation. It’s also a highly valuable skill set to develop in case of tough times, and fresh, organically grown vegetables will make your family’s diets so much healthier.
And you should start planning, now, for what crops you want to grow, so that you will already know how to grow these crops when the grid goes down. It’s better to start smaller, so you don’t get overwhelmed, which is why I started with a list of 10 crops for your survival garden.
Most of us don’t have infinite amounts of fertile soil, or space to grow your garden, and you are going to need to grow crops that are relatively easy to grow and provide you with a balanced diet.
To get started, you’re going to need to know what are the 10 best crops for a survival garden.
Once you’ve got those crops established, you can expand if you have the time, space and energy.
Getting Started With Survival Gardening
You need to identify an area of your property that is as close to your house as possible, for safety in an SHTF scenario, and that also gets at least 8 hours a day of full sun.
You are going to need a well unless you’re lucky enough to be bordering a brook or have a body of water on your property, because you can’t count on there being enough rain to keep your garden watered.
You should also look at a hardiness zone map of the United States and see what growing zone you live in, because that will determine when you can start planting.
You will want to start planting your seedlings indoors in early spring to help you extend your growing season.
A hoop house or greenhouse – which you can buy now, but won’t be able to buy in an SHTF scenario – will also help you extend your growing season. It will allow you to start planting six to eight weeks earlier, which means you can grow at least one more crop per year.
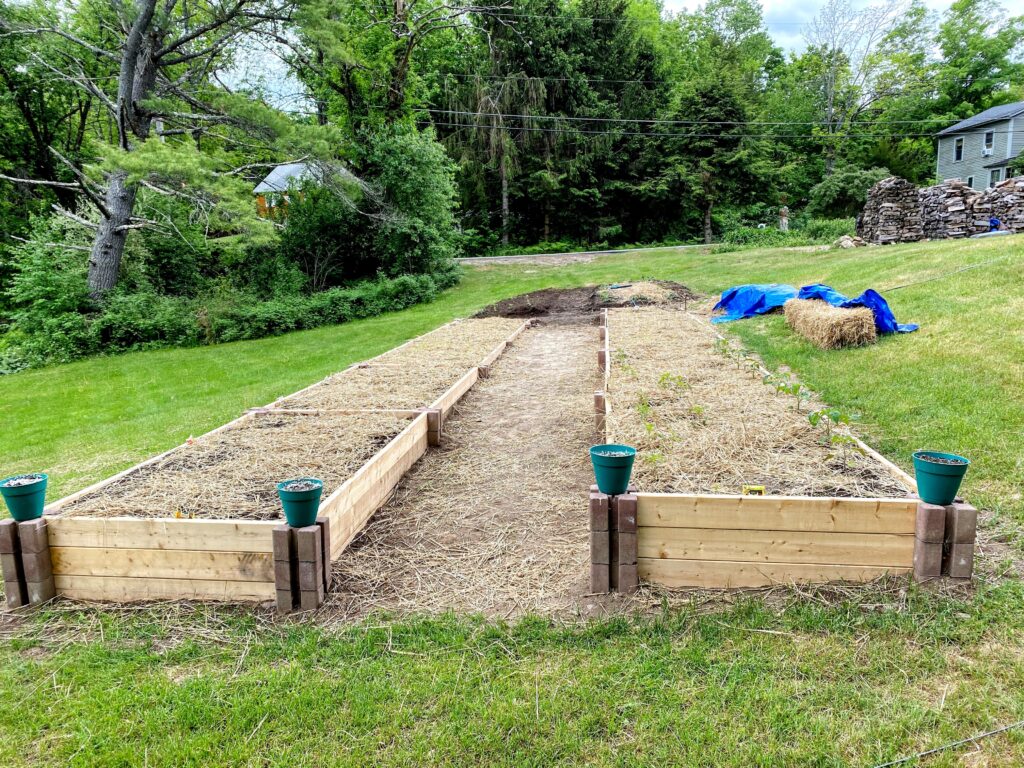
I LOVE raised garden beds. They are much easier to work with. Below is a picture of my raised garden beds when I first had them put in, before I put up the deer fencing. I grew herbs in the green pots. A raised garden bed will allow you to grow a lot more vegetables per square foot, they’re easier to weed, and you won’t suffer from soil compaction as long as you don’t walk in the garden beds.
Whether you use raised garden beds or not, you are not going to have much luck if you try to grow your plants in poor soil. Before you plant, it’s a good idea to do a soil test – you can buy soil test kits at your local garden center, or contact your local agricultural extension office to find out how they can do soil tests for you. They can tell you if your soil needs amending, and if so, with what. Very few of us are blessed with the kind of garden soil you can just drop seeds into.
You will want to start out with good soil which you can buy from a garden center, and every year you are going to need to add compost and/or fertilizer to replace the nutrients that the plants used up during the growing season.
But What Should I Grow In My Survival Garden?
Excellent question. I have provided a list of 10 survival garden plants below, with growing instructions. You are going to want the food to be calorie-dense, relatively easy to grow,
For every single plant here, you’re going to want to pick at least three or four different varieties of plants that are known to grow well at your area. If you buy them at local nurseries, they will have selected plants that grow well where you live. If you order them online, you need to check to make sure they grow well in your part of the country.
The reason that you want to pick multiple varieties is that you will find that some varieties thrive in your garden better than others, and the time to experiment with that is now, not after the zombies start swarming/civil war is declared/the asteroid hits/etc. This is true even if you are buying varieties from your local plant nursery which are definitely meant to grow in your area. You just won’t know what works well in your garden until you plant it and wait a season.
My recommendation is that you pick test out a few different varieties every year, and get rid of the varieties that have puny crops or that attract a lot of pests.
So, now we are going to get started with what to plant in your vegetable garden. (I also like planting blueberries and raspberries and blackberries, which I will talk about in another post.)
1.) Potatoes: These root vegetables are high in calories, filling, and provide the carbohydrates you need for energy, and they are easy to grow. They are rich in Vitamin C, and potassium, an electrolyte which is vital to the functions of our hearts, muscles, and nervous system. They generally produce a high yield.
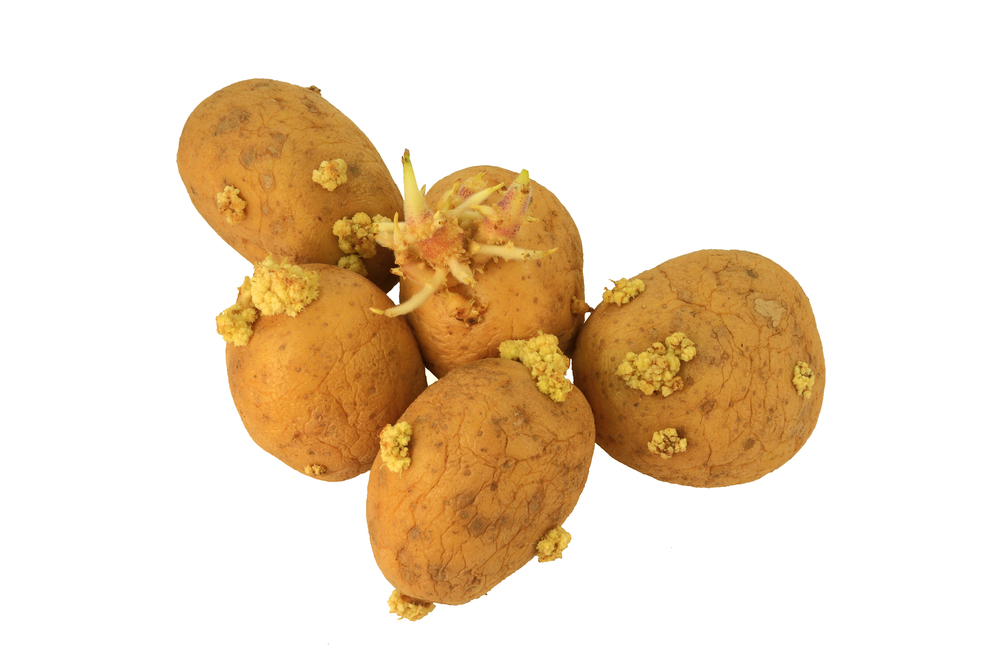
You need fertile, loose, well drained soil and lots of sun. You can buy seed potatoes to get started with. Cut the seed potatoes into a few pieces a few days before you plant them, and make sure that each piece has at least one eye on it. In the picture above, you can see seed potatoes which have sprouted roots from their seeds, which is ideal for planting.
Plant when the soil has warmed up to 45 to 55 degrees. Plant the potatoes in rows 12 inches apart, with 36 inches between each row, eye side up, and cover with dirt. Water regularly. Once the potato plants are six to eight inches high, pile up dirt around them so only the top leaves are visible. This is called ‘hilling’ potatoes and results in a much bigger crop of potatoes. When you’ve got about eight more inches of growth, hill each plant again.
Potatoes can be harvested anywhere from 10 to 20 weeks after planting, depending on what variety they are. Let them dry out for a few days before storing them. If you want them to last longer, don’t wash them before storing them – store them somewhere cool and dark, like a root cellar if you have one, and wait until you’re ready to cook them, to wash them.
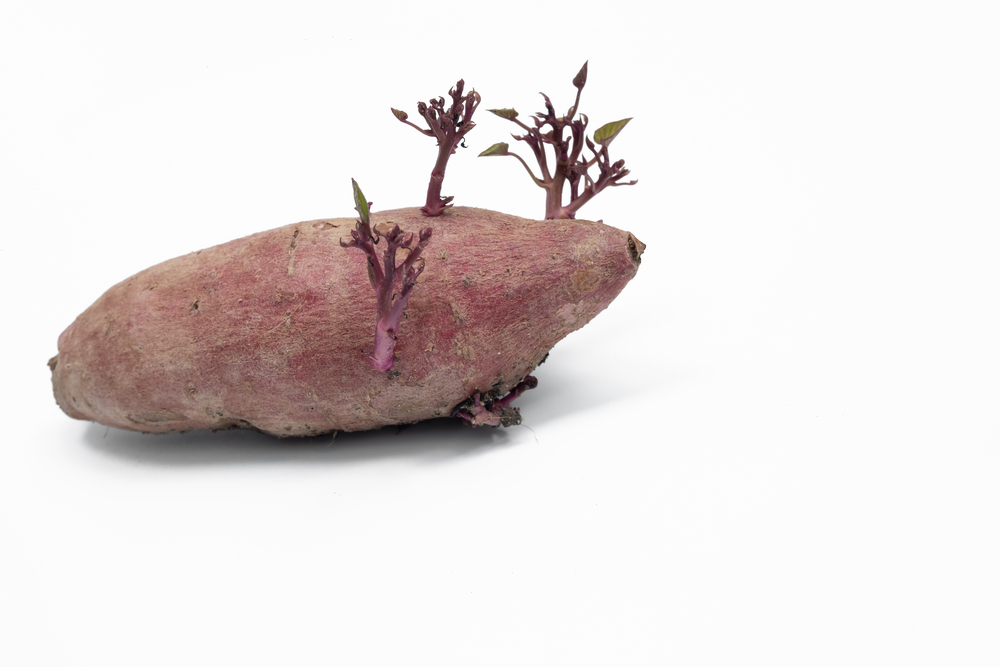
2.) Sweet Potatoes. Sweet potatoes are a tropical plant that are different from regular potatoes. They provide beta carotene, vitamin c, and potassium. They need at least four months of warm weather so they won’t work in areas that have a short growing season. Sweet potatoes are grown from slips, which are shoots grown from a sweet potato. You can order or purchase from garden supply stores to get you started.
Sweet potatoes are less cold-hardy than regular potatoes and you will need to plant them later in the season. Plant your sweet potato slips six to eight weeks after your last average frost date, when the soil has warmed up to at least 65 and night-time temperatures are no lower than 55 degrees.
It is very, very important to loosen the soil for your sweet potatoes before you plant them. Plant them at least 12 inches apart, with 36 inches between rows, because sweet potatoes spread out a lot.
Sweet potatoes take between 85 to 120 days to mature.
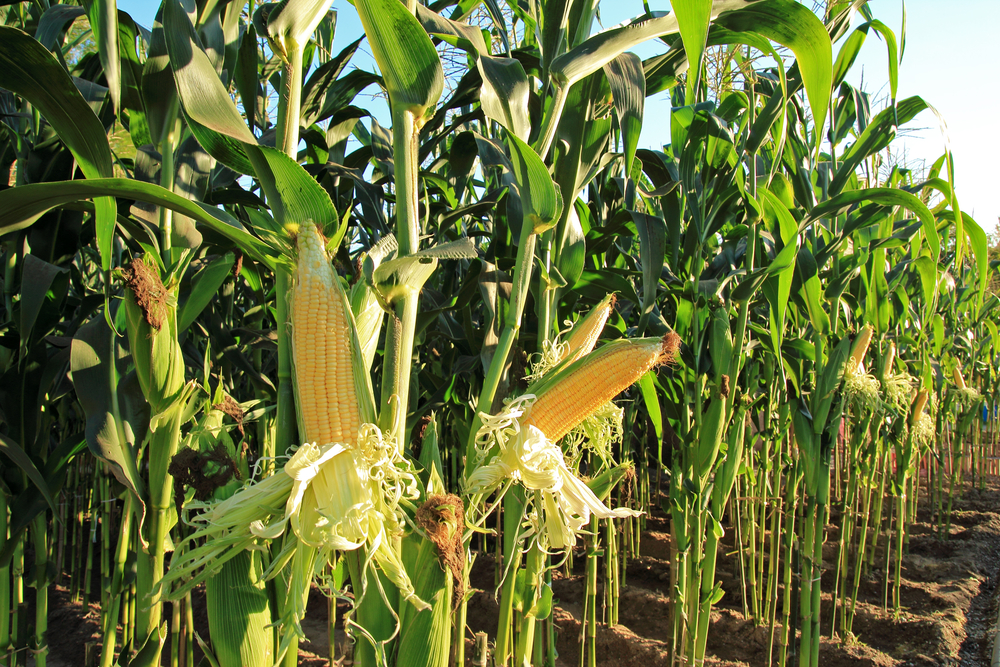
3.) Corn. Corn is one of the oldest domesticated crops, and has been grown for thousands of years. Corn is high fiber and has Vitamin A, carbohydrates, and is rich in anti-oxidants.
Corn is not cold-tolerant and needs to be planted about two weeks after the last spring frost date, when the soil is about 55 degrees.
You can get corn seeds from any garden store, and at the end of the season you can get your own seeds from the corn kernels on the cobs of corn you’ve grown.
Plant the corn in rows, about 12 inches between each plant, three feet between rows. I had mentioned buying several varieties of each type of plant. Corn can cross-pollinate, so you would need to plant different types of corn at least 300 feet from each other so it doesn’t cross-pollinate and create new varieties.
Once corn grows tall enough, it is vulnerable to being knocked over by the wind. Planting the corn in a block of at least six rows will help protect it. Some people put fences around their corn to protect it. It’s also helpful to put up posts around each block of corn, and tie twine between the posts.
Corn is ready to harvest in two to three months. Many people plant corn every two to three weeks during the growing season, so that they have fresh corn available all season long.
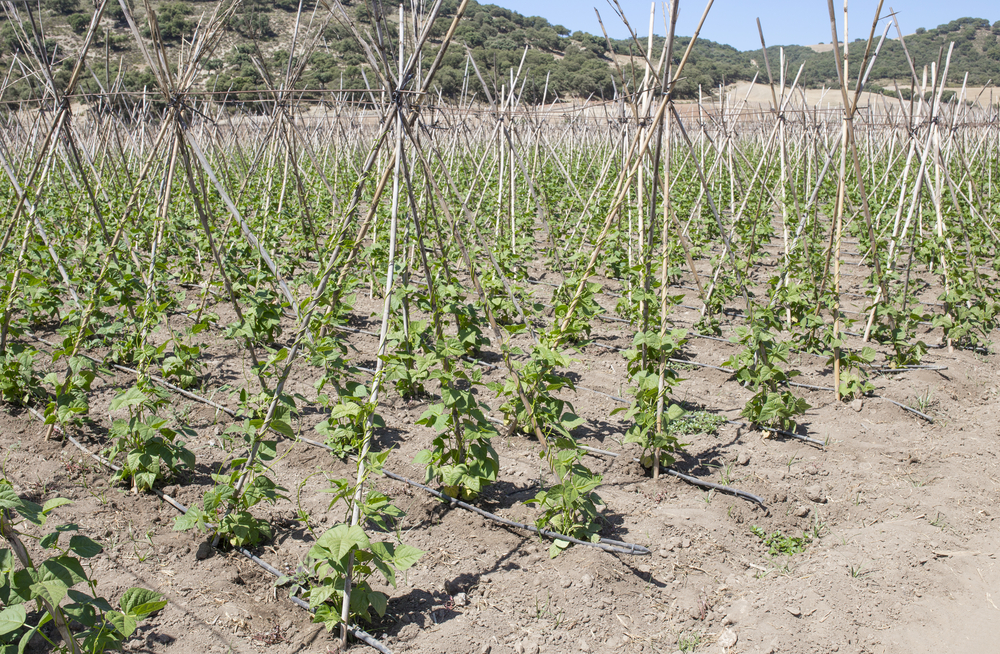
4.) Beans. This is an absolute staple of every prepper’s survival garden, and you will find them on every list of 10 best crops for a survival garden. Pole beans, bush beans, doesn’t matter…they are high protein, with a cup of pinto beans providing 15 grams of protein, they are high fiber, and they have iron, magnesium, and phosphorous, among other nutrients. And, when they are dried and stored properly, they last for many years.
I have started bean seedlings indoors and also direct-sown them outdoors, after the last average frost date. They are so easy to grow. For bush beans, plant them at least three feet apart because they spread out and get, well, bushy.
For pole beans, you must have a trellis for each plant. Put the trellis in before you plant the beans. It doesn’t have to be fancy, you can make them with sticks from your property, tied together with twine, or you can buy every variety of trellis from a garden center.
Note: green beans are not as high-protein. They only have two grams of protein for cup. Kidney, Pinto and black beans are the most common varieties and they are also the highest protein.
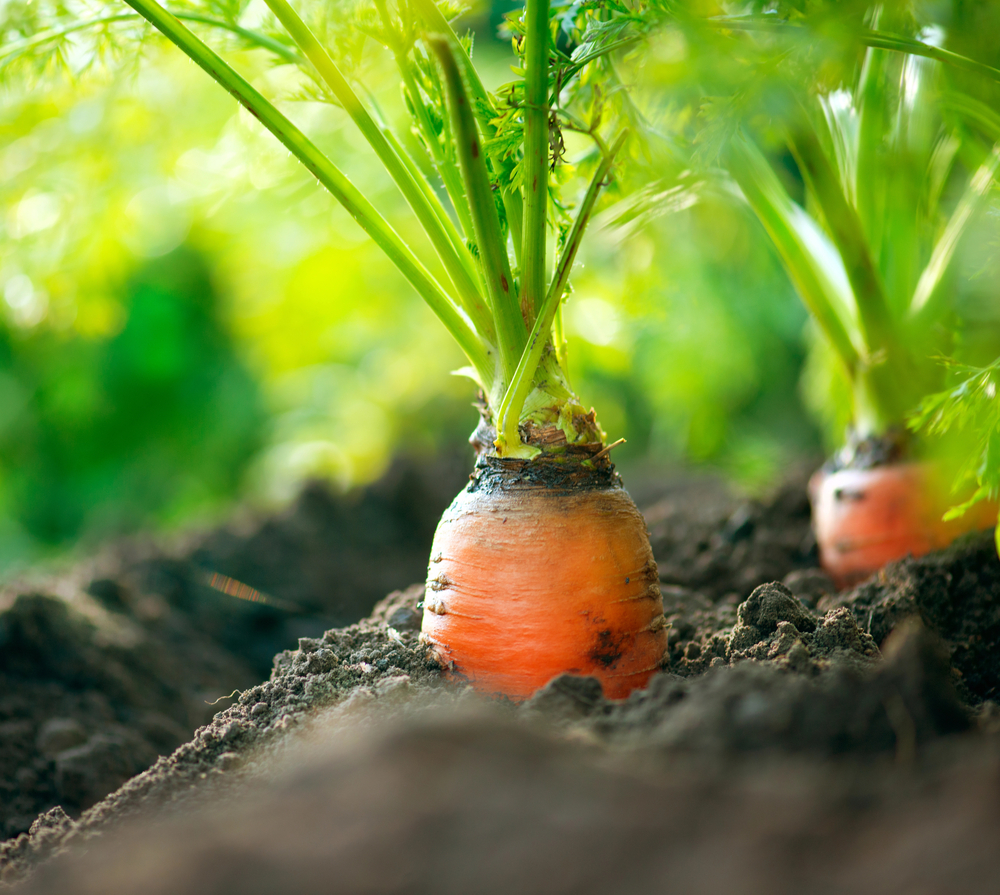
5.) Carrots. They have 100 percent of the USRDA of Vitamin A. They are sweet, high-fiber, high anti-oxidant, and delicious. They are also very easy to grow.
Carrot seeds are tiny. It easy to plant way too many of them in clumps. My favorite trick is to mix the seeds in a handful of sand, which also makes it easier to see where they have been planted, and spreads them out.
Plant a little handful of sand and carrot seeds a few inches apart, with rows about 12 inches apart, in well loosened soil. Make sure the soil is loosened before you plant; if the soil is too compact, you may end up with squished, ball-like carrots.
Carrots take 50 to 75 days to mature. You can do several plantings of carrots throughout the season so you always have a fresh crop.
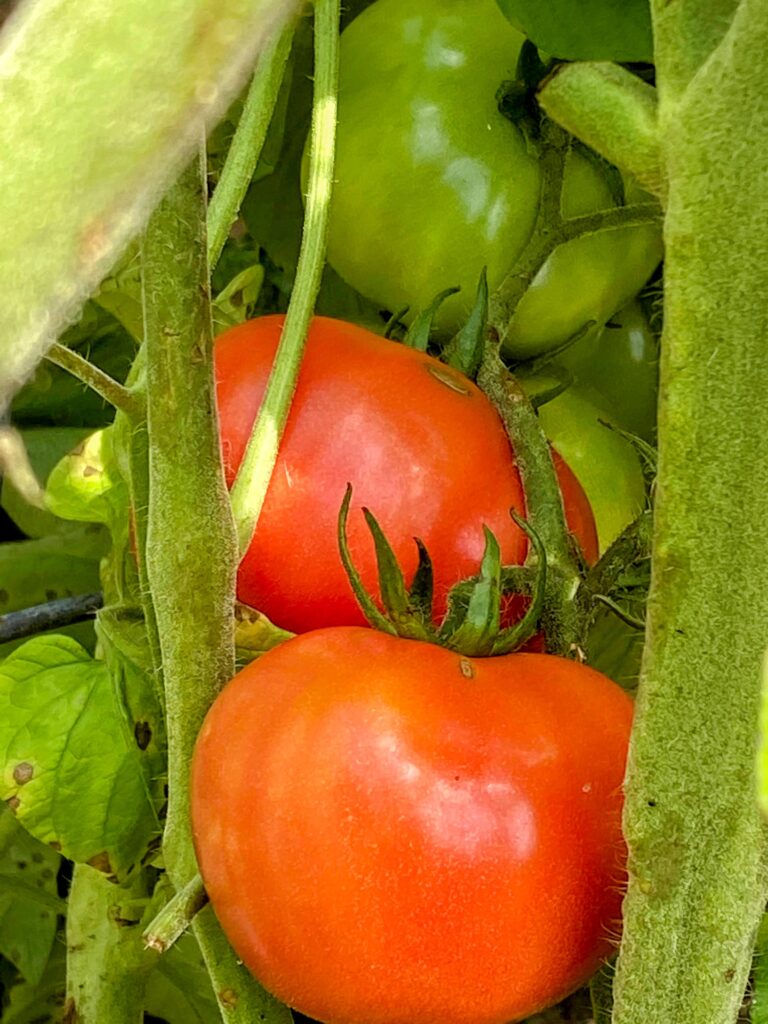
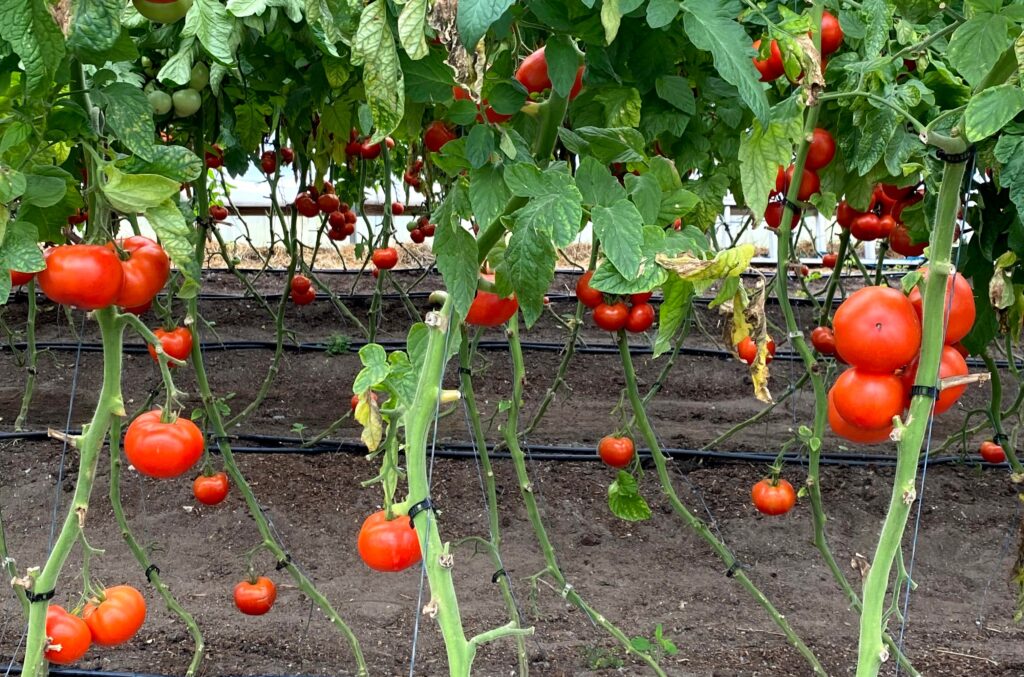
6.) Tomatoes. Although I plant tomatoes in my vegetable garden, they are actually tropical fruits. They are a great source of potassium, Vitamin C, folate, and Vitamin K1. They can be made into tomato sauce and canned, or sliced up and eaten fresh, or cooked in a wide variety of dishes.
Tomatoes are easy to grow, for the most part. You can buy tomato seeds from any store and start them indoors about six to eight weeks before the last average frost date for your area. Do NOT plant your tomatoes when there is risk of frost. If the temperature drops below 32, they will turn into mush and die.
What you can do to harden them off is put them outside during the day as you’re approaching that last average frost date, and bring them in at night.
You can also direct sow them in your garden as soon as all danger of frost has passed.
Tomatoes need trellises, and they will need to be roped up to the trellises as they grow. You’ll want to plant them about 24 inches apart, with rows about three feet apart. Tomato plants can get quite large.
Tomatoes are heavy calcium feeders. I use my eggshells to supplement their calcium, by grinding it up fine and sprinkling it in the soil in a ring around the tomato plant, and then watering it in. If they do not get calcium, they will suffer from blossom end rot.
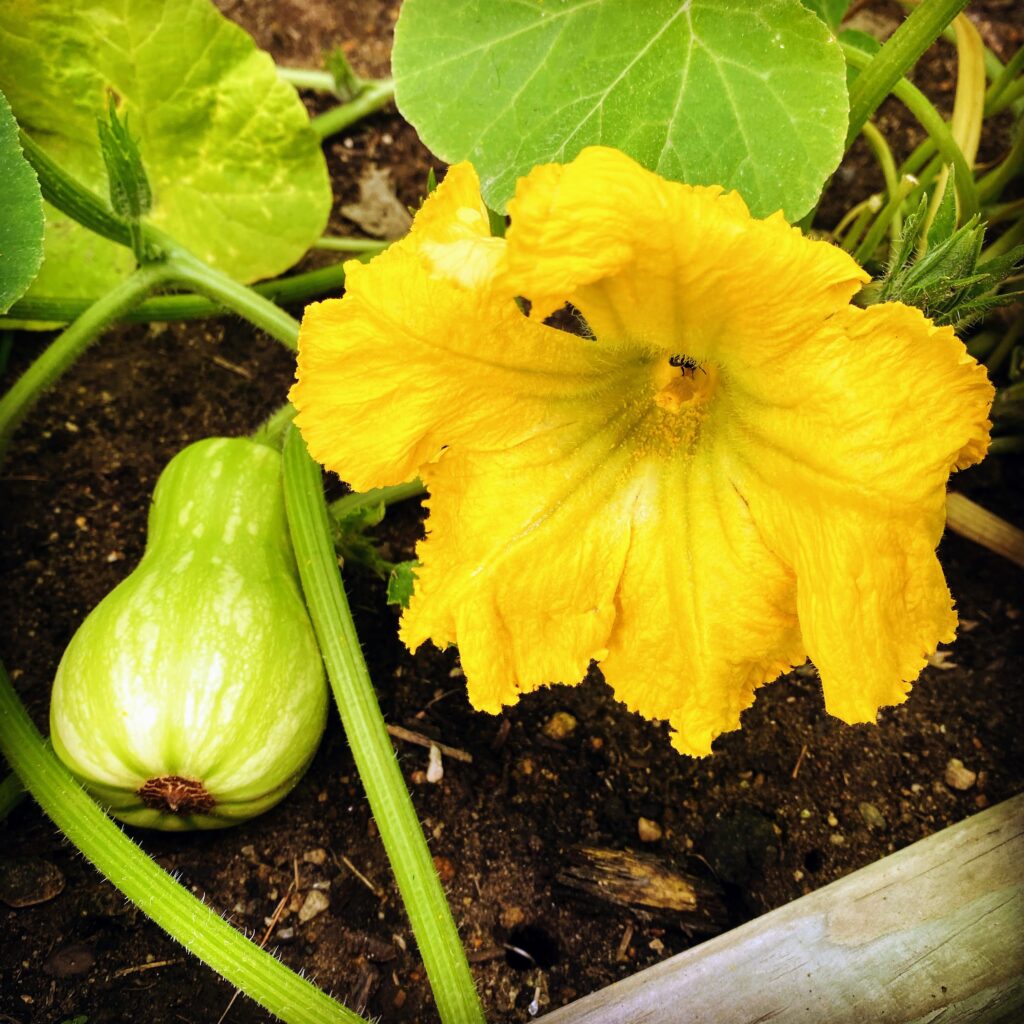
7.) Squash. Both summer squash and winter squash are delicious and full of useful nutrients. Summer squash has a more tender skin and is harvested earlier, and will not store for as long. Winter squash can store for months. Squash are a great food source; they are high fiber, easy to cook in many ways including roasting, and contain magnesium, iron, calcium, phosphorous, Vitamin A, Vitamin C, potassium, folate, and so much more.
Squash is so easy to grow from seed, and it is also incredibly easy to harvest the seeds to grow more squash next year. You can also roast and eat the seeds.
You can start seedlings indoors to get a jump start on the growing season, and plant the seedlings after the last average frost date. Where I live in the north, that’s end of May. You can also direct-sow the seeds outdoors after the last average frost date.
If you have room in your garden, it’s a good idea to do both, because then you’ll get your first crops from the seedlings that you started indoors, and about four to six weeks after that, the seeds that you direct-sowed will be ready to harvest.
Squash plants should be planted about 15 inches apart, and the rows should be three feet apart. Squash plants grow and sprawl everywhere, so keep that in mind when planting.
There are hundreds of varieties of squash, and the time to harvest will vary depending on which type you planted. It can take anywhere from 60 to 110 days to harvest, and 110 days is a long growing season. That’s one of the reasons you’ll want to start seedlings indoors if you can. Research what variety you’ve purchased so you can see the expected time to harvest for that particular type of squash.
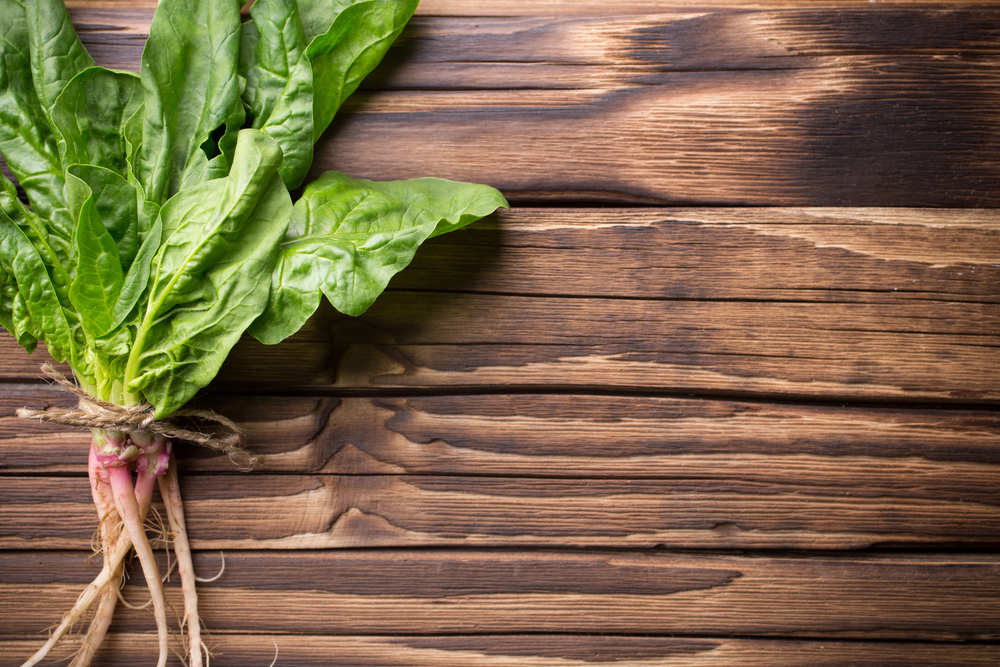
8.) Spinach. We all know how important leafy greens are to our health! Spinach contains iron, calcium, magnesium, and vitamins A, C, and K.
Spinach can be grown from seed, or you can buy seed starts from garden centers early in the season. Spinach is ready to harvest 45 to 50 days after planting.
Spinach is cold-hardy, and should be planted when the soil is about 40 to 45 degrees. Plant your first crop of spinach 4 to six weeks before the last average frost date in your area, and your second crop of spinach six to eight weeks before the first average frost date of fall. Spinach does not enjoy hot summers, and if you plant it too late in the spring or summer, it won’t grow well, or at all.
Plant spinach seedlings four to six inches apart, in rows that are 12 inches apart. You can get a lot of spinach plants per square foot, which is always a good thing.
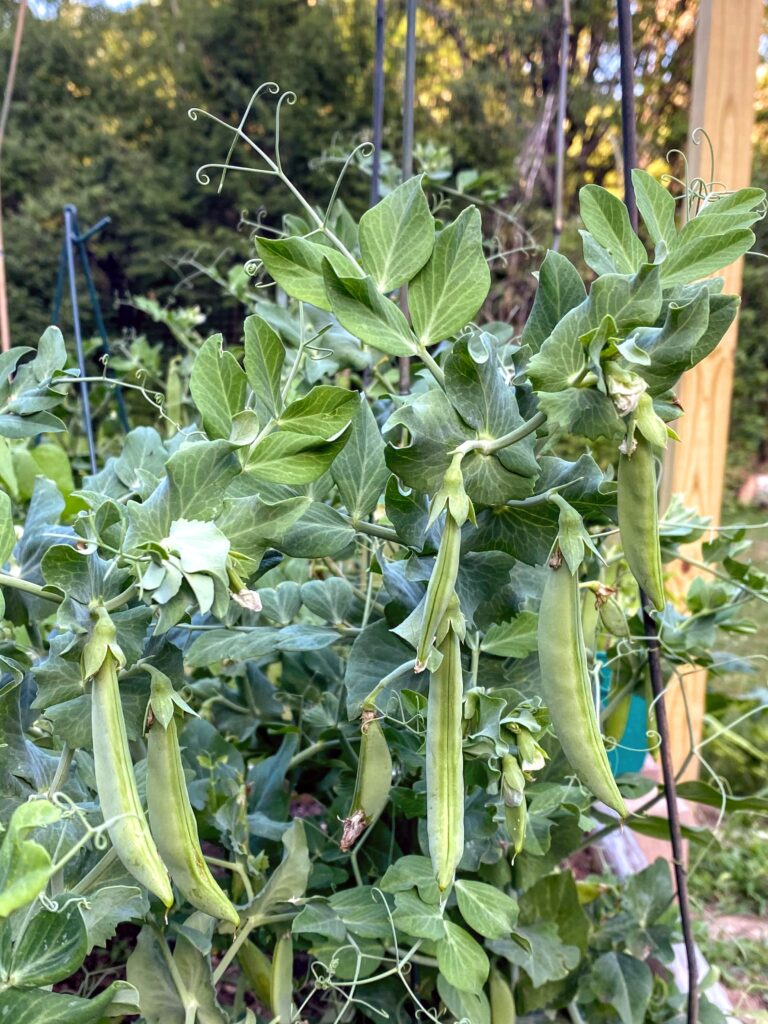
9.) Peas. I love growing peas, with their beautiful swirly tendrils. They are another crop that can be started early, like spinach. When planning your 10 best crops for a survival garden, you want to pick plants that will grow at different times throughout the season so you have fresh food for longer.
Peas, like all vegetables, are high in fiber, and they also have folate, iron, and vitamins A, C, and K, and other essential vitamins. They are great eaten raw, when added to a salad, or cooked, and it is so easy to harvest and dry a bunch of peas for next year’s crop.
You can plant peas when the ground temperature is 40 degrees. Depending on the pea variety, they are likely to need trellises because they are climbers. You can plant pea plants about three inches apart in a row, and the rows should be at least 12 inches apart.
You can harvest peas about 60 days after planting. Peas will stop growing, or grow less, when the temperature gets about 80 degrees.
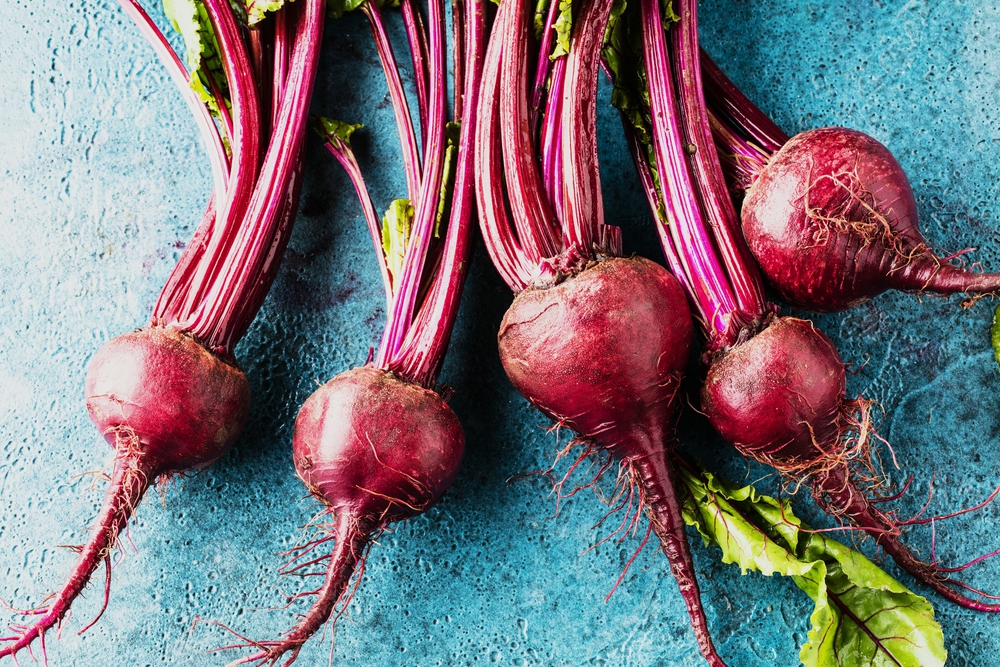
10.) Beets. You can eat both the leaves and the vegetable itself, so it’s doubly valuable. It adds flavor, and it is high fiber, and has manganese, copper, potassium, Vitamin C, iron, and Vitamin B6.
You can start beet seeds indoors, or direct sow outdoors. They are cold-crop vegetables, so you can start them as soon as the ground temperature is around 45 degrees. You can harvest them about 60 days after planting.
You will want to plant your beets about 3 to 4 inches apart, with rows 12 inches apart. Remember not to throw away those beet greens!
All of the plants that I’ve mentioned here are annuals, which means you will have to plant them again the following year. In my garden, I do get quite a few ‘volunteer’ plants, especially with the tomatoes. I always miss a few tomatoes and the ones that fall into the garden will always sprout new plants the following year. However, for the most part, every spring I’m busy planting.
You will need to learn to save seeds from your plants, or in the case of potatoes cut the potatoes into pieces with at least one eye on it, so you can grow the plants again year after year.
If you plant a herb garden in addition to your vegetable garden, you will get a lot of perennials. Mint, oregano, lemon balm, chives, sage, rosemary, thyme, and many other herbs will come back year after year. Make sure to stock up on perennials for your survival garden while you still can!
