Why are there sourdough recipes on a site about prepping? Because sourdough bread, which is tangy and delicious, can be cooked without commercial yeast, and in a grid-down situation, you won’t be able to go to the store to buy more yeast or order it online. If you like to bake, you can buy yeast now and stockpile it, but it loses its effectiveness eventually. Storebought yeast will last up to two years, although you can certainly try to use it after its expiration date. There’s just a risk that it won’t rise and then you’ve wasted a bunch of time and ingredients.
Not a huge deal now, but in an SHTF scenario where food is precious, you will want to avoid wasting ingredients at all cost.
Sourdough starter has a very long history, with the earliest known use being by the Egyptians around 3000 b.c. The yeast and lactobacillus bacteria are what give the sourdough starter it’s fizz and help bread dough rise – when there is a sufficient quantity of them in the sourdough starter.
So, that’s why I like to bake sourdough bread – it means I no longer have to worry about a failed bread batch. This easy sourdough bread recipe with starter will rise on its own, because the sourdough starter has its own yeast.
However, it does take a little extra preparation to get started.
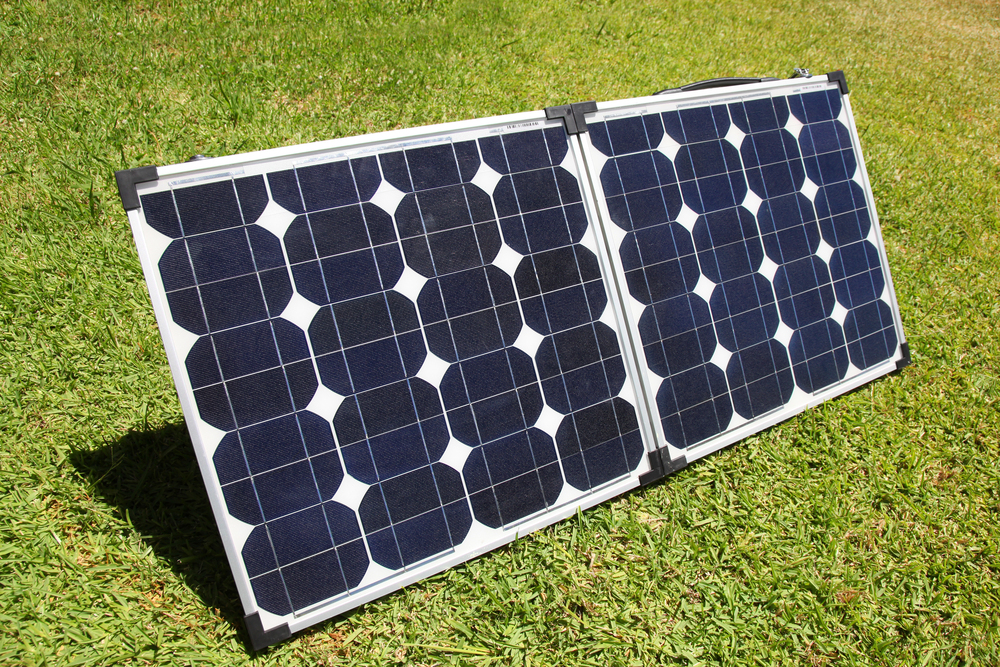
Also, I always feel the need to clarify, since this is a prepper website – for this recipe to work, clearly, you need access to a working kitchen with a stove and a fridge. Pre-SHTF, that’s not a problem for most of us. In a post-apocalyptic world – perhaps you would have solar panels. Perhaps you are part of a plucky group of survivors who have worked out a way to keep the electricity going.
Basically, prepping means being ready for a wide range of scenarios, and this recipe will work…for some of them.
Preparing
Important! This method calls for cooking in a dutch oven. And – you will be making the dough on day 1. You will cook it on day 2.
You need to start with active sourdough starter. You can buy your own starter, or your can make your own sourdough starter from scratch.
Whichever route you choose, your sourdough starter needs to be ready. The yeast population in your sourdough starter will rise and fall depending on how long it is since the starter has been fed. If your starter has been stored in the refrigerator, you’re going to need to take it out at least 24 hours before you want to use it, and you are going to need to keep it in a warm room and refresh it with feedings.
If you don’t have a warm room to keep it in, a trick I like to use is to put it on a seedling mat, and put a box over it to keep in the warmth. My kitchen tends to stay cold so I do this all the time.
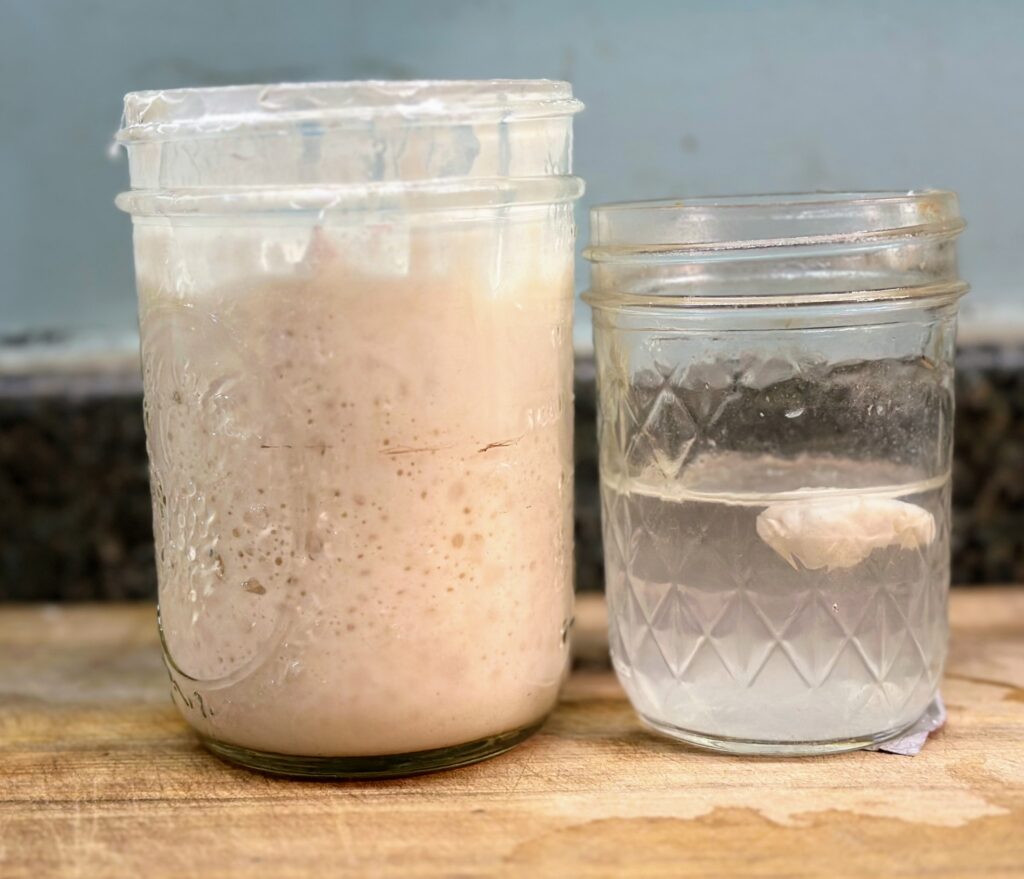
Ways to tell that your sourdough starter is ready to use: it should have at least doubled in size since it’s last feeding, it should have bubbles, and often the top will be a little bit domed. It should have that tangy sourdough odor. Once it has that appearance and smell, take a small blob (like how scientific I’m getting there?) and drop it into a glass of water. If it floats, it’s got a lot of active yeast that are making it buoyant and it is ready to use. If it sinks, the sourdough starter needs more feedings and time.

Recipe
I repeat – this recipe calls for a dutch oven! I just don’t want to see you get everything all ready and realize you don’t have everything that you need to proceed.
So, now that you have your active, bubbly, gassy sourdough starter ready and raring to go…here’s my easy sourdough recipe with starter!
Important tip: You need to make the dough on a day when you are going to be home all day, because part of the process called ‘stretch and fold’ takes place over the course of several hours. You’re only stretching and folding a few minutes per time, but you have to do it four times, with 30 minutes rest in between medieval torture – I mean stretch-and-fold – session.
Ingredients
- 1/2 cup of active sourdough starter
- Three and a half cups of bread flour. It’s better if you don’t substitute; different types of flour have varying protein content, and it may throw off the recipe.
- 1.5 teaspoons salt
- 1 and 1/3 cup of warm water.
1.) Combine ingredients in a large bowl. Knead bread until it has a rough shaggy texture.
2.) Cover with plastic wrap and let rest for one hour.
3.) Wash hands. Then run water over your hands so you can handle the flour without it sticking to you. And now, it’s time for the famous stretch and fold!
4.) Reach into the bowl, grab the edge of the sourdough and pull it, stretching it out until it’s a thick sheet. Fold the dough back on itself, and stretch again, and then repeat, for a total of 3 or four times.
5.) Let the dough rest for 30 minutes.
6.) Repeat the stretch and fold 3 more times – for a total of four stretch and folds.
By now you’re muttering under your breath and demanding to know…why am I torturing you like this?
Fair question. There’s a method to my madness, I absolutely swear. Stretching and folding strengthens the gluten in the bread, and the gluten in the bread is what holds in the carbon dioxide that makes those bubbles which make your bread lighter and airier.
Ok, I know I described this as ‘easy sourdough bread recipe with starter’ and I swear it is easier than kneading.
Rise and Shine!
Time to shape the dough, with clean, wet, hands, into a round, dough-like shape. Once it’s shaped, you will cover the bowl with a towel or plastic wrap, put it in the fridge, and let it sit overnight.
Time to cook – finally!
1.) Put the Dutch oven in the oven. Preaheat oven to 450.
2.) Take the dough out of the fridge. Score the top of your bread dough with a knife. This allows it to expand properly when baking. You can do little fancy cuts on top of your bread if you want to; I get artsy with my bread sometimes when I have the time and energy.
3.) Place the bread dough onto parchment paper.
4.) Carefully take the Dutch oven out of the oven – it’s hot as heck right now! Put the bread dough, still in the parchment paper, into the dutch oven.
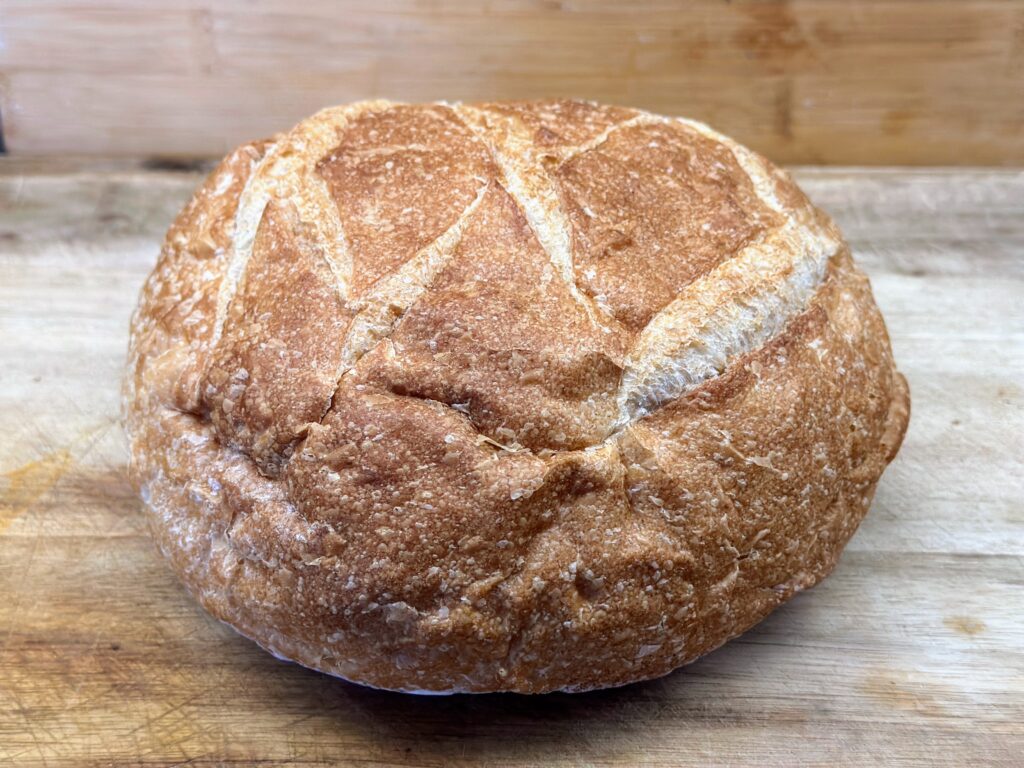
5.) Put the Dutch oven into your oven with the lid on, and bake for 20 minutes. Remove the lid and bake for another 20 minutes. Check the bread. If it’s not golden yet, give it another 10 minutes.
6.) Remove the bread and let it cool.
7.) And now, at last…enjoy!