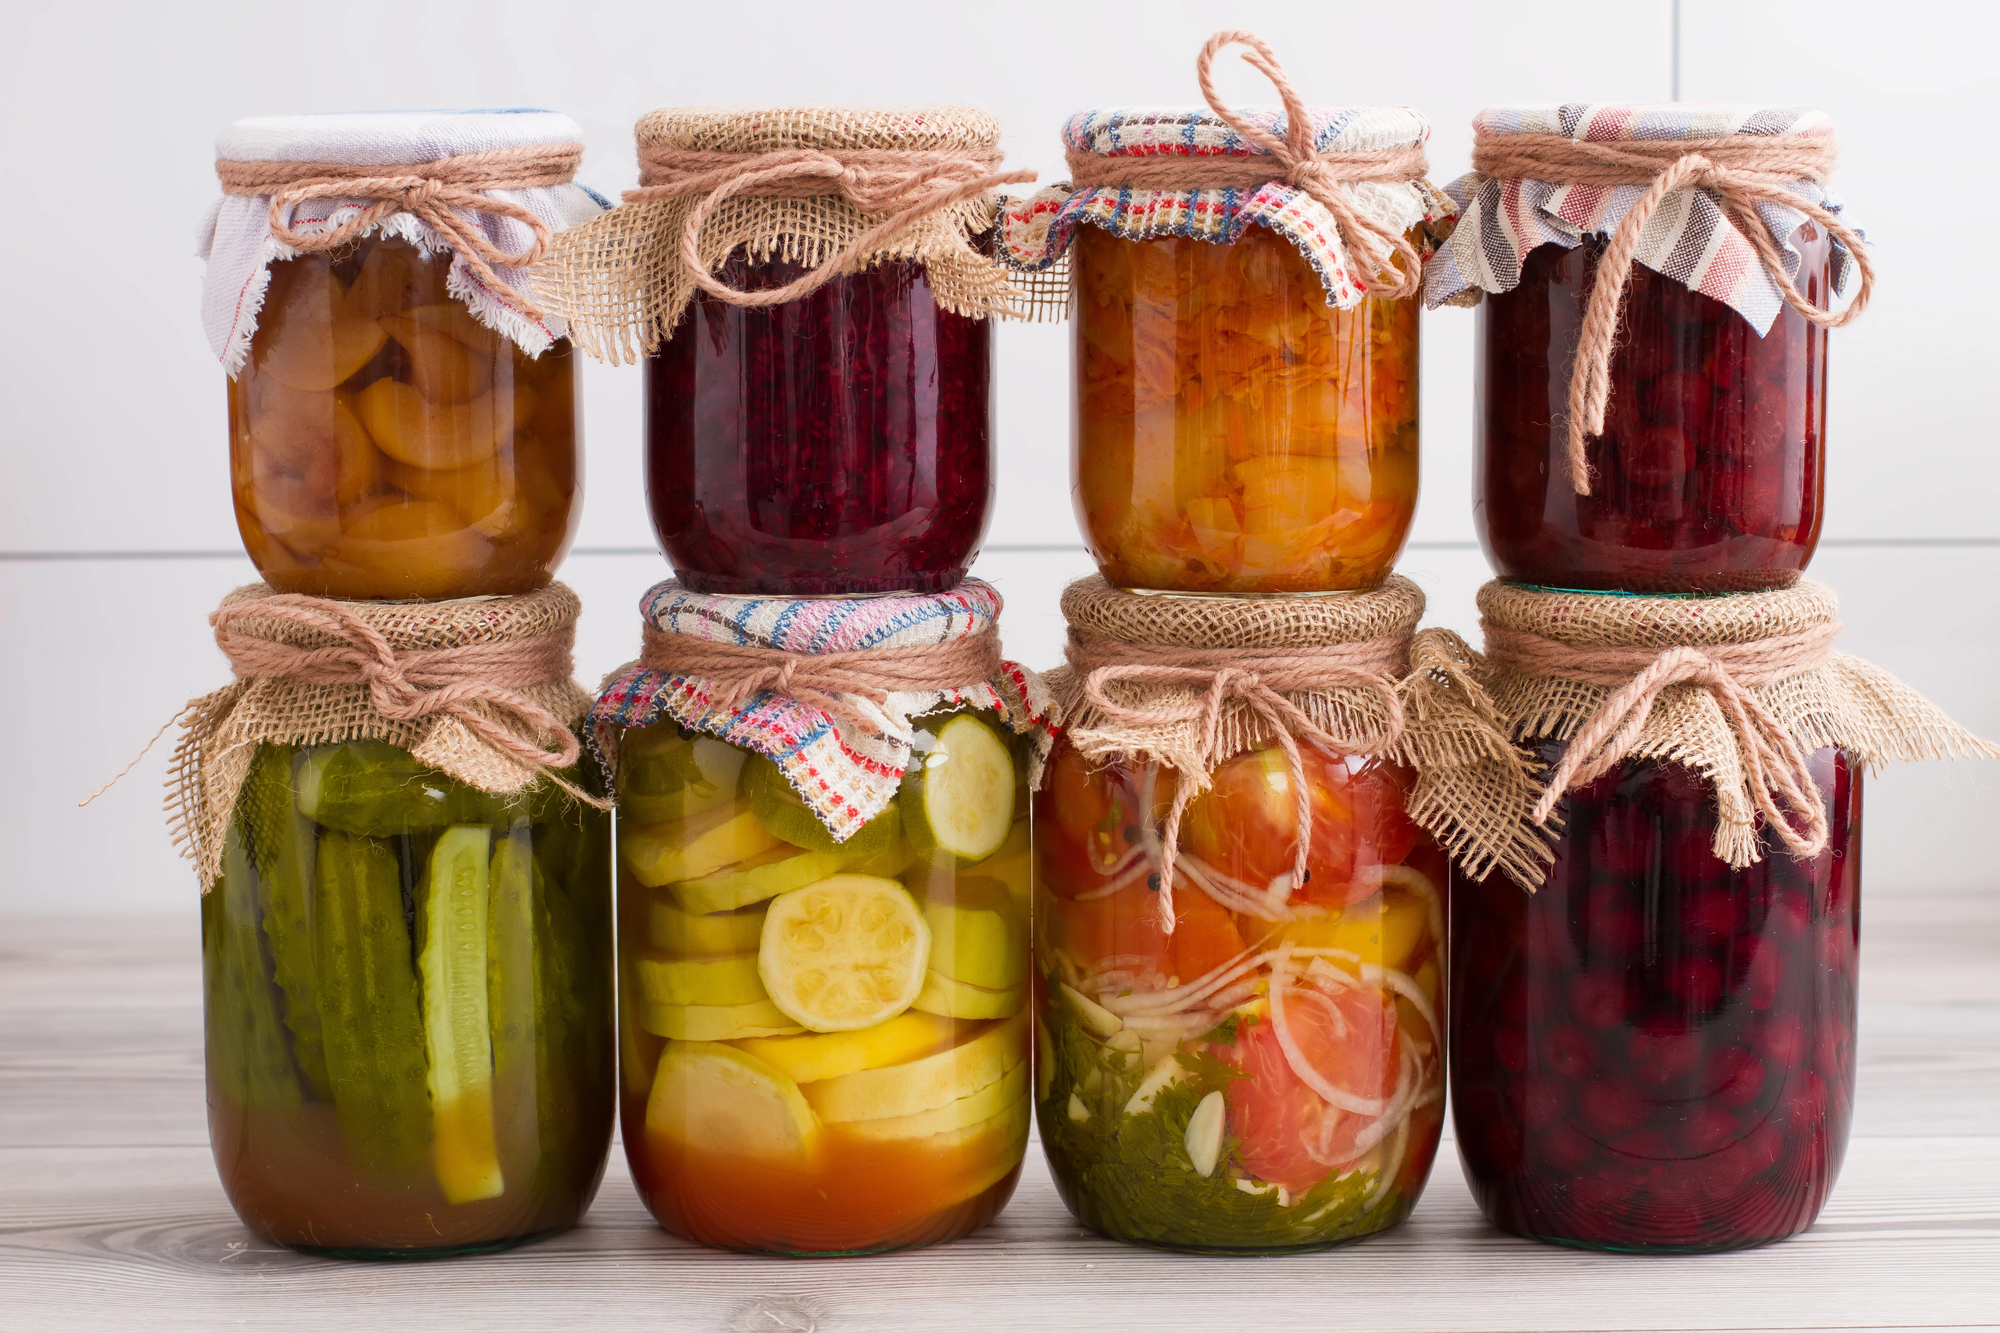
Getting started with canning and preserving can feel intimidating. There’s so much to learn, and what’s up with pressure cookers and their potential to explode? Why can’t I just make everything in a water bath? What even is a water bath, when it comes to food?
However, if you want to get serious about prepping, you’ve got to learn to grow your own food, and preserve it – which means you need to learn the ins and outs of safe canning practices. Yes, you can very easily stockpile enough to feed your family for a few weeks, and with a little work you can get that up to a few months. But what if the country is in a bad situation that doesn’t resolve after a few months? What if it’s dangerous to go to the grocery store? What if grocery stores have been picked clean and food isn’t getting through any time soon, or ever?
Not only that, growing your own food and preserving it can save a lot of money. One of the recipes I’m going to give you on this page literally uses water, a few tablespoons of sugar, and kitchen scraps.
Before I get started with the recipes, I need to share some important information for people who don’t have any experience with canning. Whenever I talk about canning, I throw in a little lecture about food safety because in a post-apoc world, or a very serious long-term SHTF situation with limited supplies of medicine and no access to hospitals, understanding food safety is going to be vital.
When canning and preserving, you need to identify which of two classes of food you are working with: low acid foods or high acid foods. High acid foods include fruits, pickles, and tomatoes (with added lemon juice). They can be canned in a water bath canner. Vegetables, meat and poultry are low-acid foods and they absolutely require being cooked in a pressure canner. That is because, science.
Specifically, pH, which is a measure of how basic/alkaline, or how acidic, things – such as food, or soil – are. Acid has a pH of 0-7 and alkaline has a pH of 7 to 14. High-acid foods like fruits have a pH of 4.6 or lower, and c. botulinum can not grow in that environment; it thrives in foods with a pH of 4.6 or higher.
If you can low-acid foods like meat or potatoes at too low a temperature, like in a water bath canner, you risk getting botulism. Water boils at a temperature of 212 degrees and on its own, it never gets any hotter than that, and that temperature is not high enough to kill the botulism spores.
To safely can low-acid food like meat and vegetables, you must get the water temperature hotter then it can get by boiling it. You do that with a pressure canner. When water is under pressure in a pressure canner, the temperature will reach 240 to 250 degrees, which is hot enough to kill Clostridium botulinum bacteria.
There are groups of people who call themselves ‘rebel canners’. They are proud that they use unsafe canning practices and haven’t died or killed any friends, family or church members – yet.
To me that’s like being a ‘rebel surgeon’. “Washing hands, sterilizing instruments – that’s for squares!”
Yeah, I’m not going to that doctor.
So, I think it’s pretty clear on where I stand on safe canning practices. When you get started with your beginning prepper recipes, I can not emphasize enough that you should do a LOT of research from trusted sources like the USDA or local cooperative extensions, to get accurate and safe information.
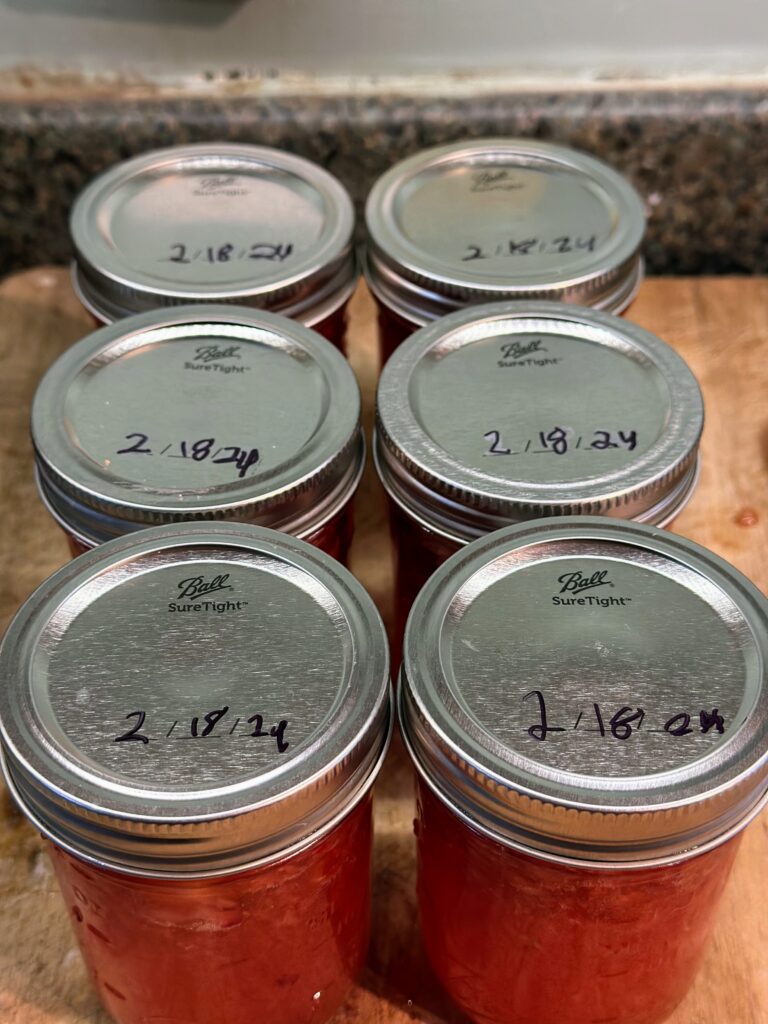
Easy Strawberry Freezer Jam Recipe
Now that I’ve got the scary stuff out of the way!
To get started, we’re going to do an incredibly easy freezer jam recipe that is fun for kids and adults to make, and is so easy you’re going to say “Seriously? This is a recipe?” We’re talking four ingredients here: fruit juice or fruit, pectin, sugar, bottled lemon juice. That is all. It’s stupid-simple, which is my favorite kind of recipe. You’re not even going to need to cook it! Whaaaat?
Quick Tip on Canning Your Freezer Jam
Freezer jam can last in the fridge for up to 3 weeks and in the freezer for up to a year. If you plan on storing it in the freezer, you must use either freezer safe plastic canning jars, or glass jars without shoulders. If you use glass jars with shoulders, when the liquid freezes and expands, it can shatter the glass. If you’re a twit and you spend a bunch of time using chicken scraps to make delicious bone broth for your dogs and then you put it in a lovely glass jar with shoulders, and put it in the freezer, you will wake up to a shattered jar. Ask me how I know. Ball has a guide on how to choose the right Mason jar for every type of use.
So we’re going to start with a simple strawberry jam recipe.
I like Certo liquid pectin. By the way, liquid and powdered pectin are not interchangeable in recipes. That’s another rookie mistake I made early in my prepping journey. Always be sure to read the instructions on your pectin and make sure it’s right for the recipe you’re making.
YIELD: About 6 or 7 jars
Ingredients:
- 1 package Certo liquid pectin
- 2 cups of ripe strawberries
- 4 cups of sugar
- 2 tablespoons bottled lemon juice
Equipment
- Canning Funnel
- Freezer-safe jars, with clean lids and rings
1.) Wash hands. Wash jars, lids and rings with hot soapy water, and then rinse. Wash strawberries.
2.) Core the strawberries and then mash them with a potato masher. Kids love doing this. Add in 4 cups of sugar, and stir thoroughly. Do NOT try to adjust the amount of ingredients, because changing the ratios will affect how the jam sets, and not in a good way.
3.) Let sit for 20 minutes, stirring every few minutes.
4.) Pour in the packet of Certo liquid pectin. Add the 2 tablespoons lemon juice. Stir vigorously and continuously for 3 minutes. It’s quite the arm workout. Make your kids help you.
5.) Pour the jam into your clean jars, leaving 1/2 inch of head space – important! – using a canning funnel. That is an affiliate link, but those are also the funnels I use.
6.) Put the lids on the jam, and let it sit at room temperature for 24 hours.
Your delicious jam is now ready and should have set! You can eat it, and you can store it in the fridge for up to 3 weeks, or in the freezer for up to a year.
Farmer’s Cheese
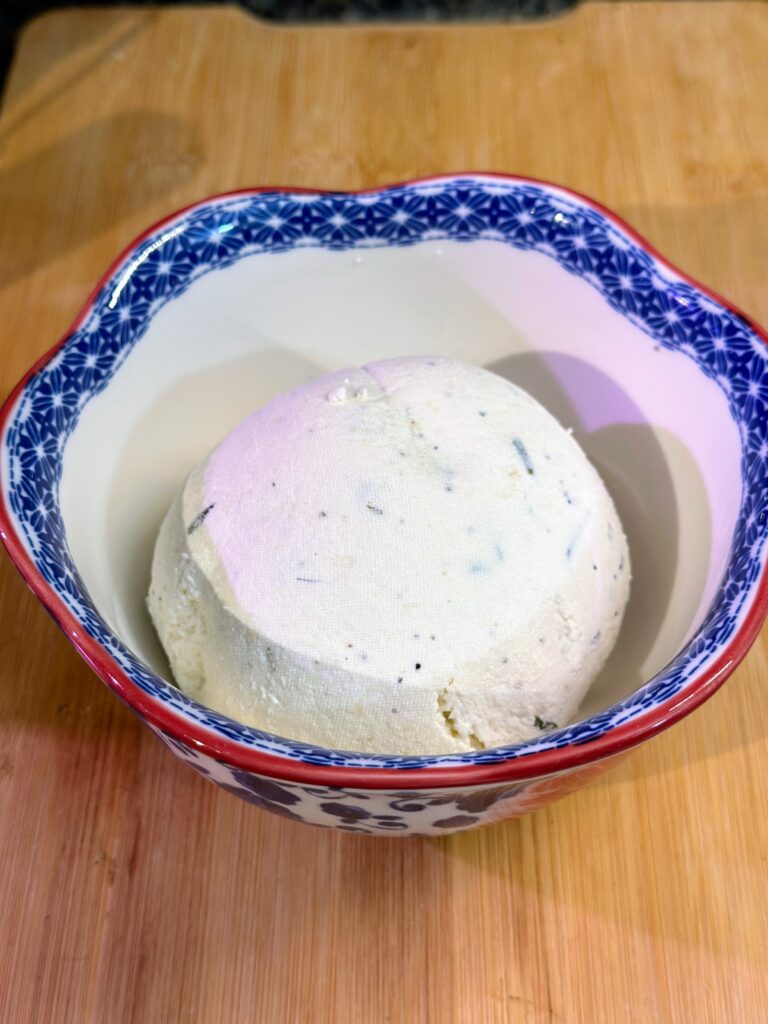
This is another simple, fun, and delicious prepper recipe you can make with your children. Cheese is expensive these days, and a gallon of milk will yield you about 1.66 pounds of farmer’s cheese. (I weighed it on my food scale.) In a long-term SHTF situation, if you had access to fresh milk, you would be able to make quick and easy cheese with just a few simple ingredients.
Farmer’s cheese is a mild cheese similar to ricotta and can be used in recipes where you would use ricotta, it can be used to stuff pastas like lasagna, or can be eaten on its own, or on crackers or bread.
Ingredients
- 1 gallon of milk. NOT ultra-pasteurized
- 1/2 cup vinegar
- Salt and pepper to taste
- Herbs such as chopped chives, or rosemary, if you so desire
- A couple of tablespoons of lemon juice for taste, if you want to, but not necessary
Equipment
- Cheesecloth
- A big saucepot
- A big wooden spoon
- A strainer
Remember not to use ultra-pasteurized milk. The ultra-pasteurization process denatures the proteins in the milk to the point where it will not bond properly to make good curds.
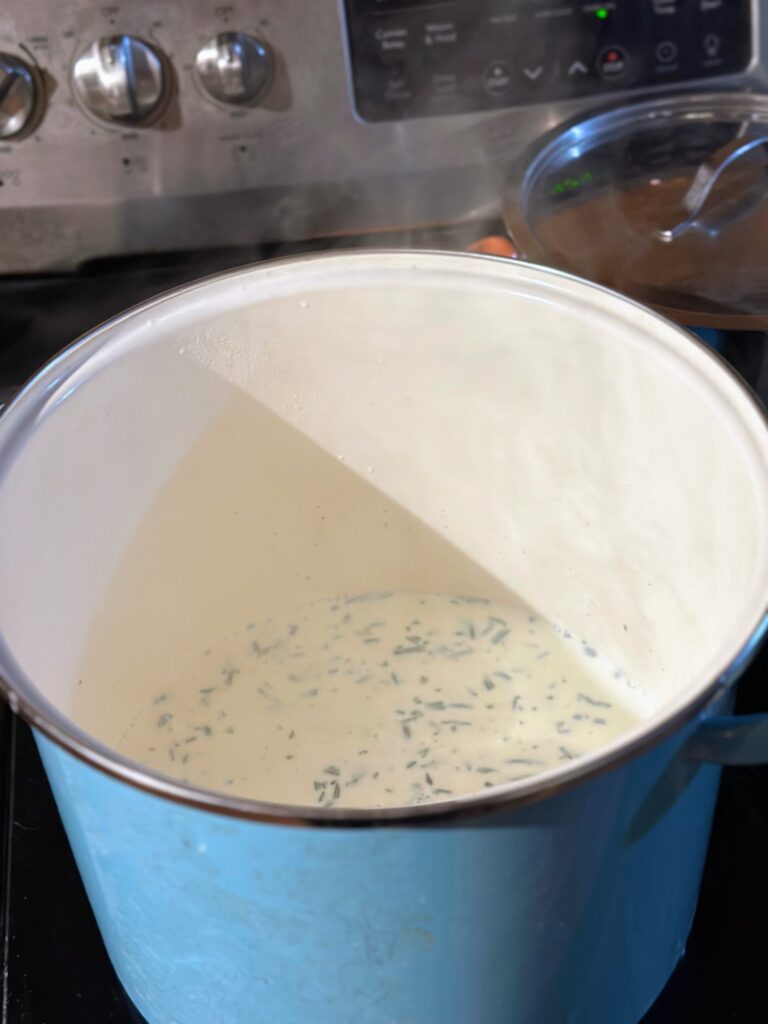
- Chop up rosemary or chives or dill and add it to the milk if you are going to use herbs. Pour the milk into a big saucepot and heat it on medium for approximately 40 minutes. You should see bubbles forming on the top but don’t heat it to boiling.
- Stir frequently or the milk will scald and you’ll have to spend a ridiculous amount of time scrubbing out your pot.
- When you see lots of little bubbles, pour in the vinegar and add the lemon juice if you are going to use lemon juice. The milk will immediately start curdling.
- Remove the pot from the heat and let it sit for about 20 minutes.
And now it’s cheese time!
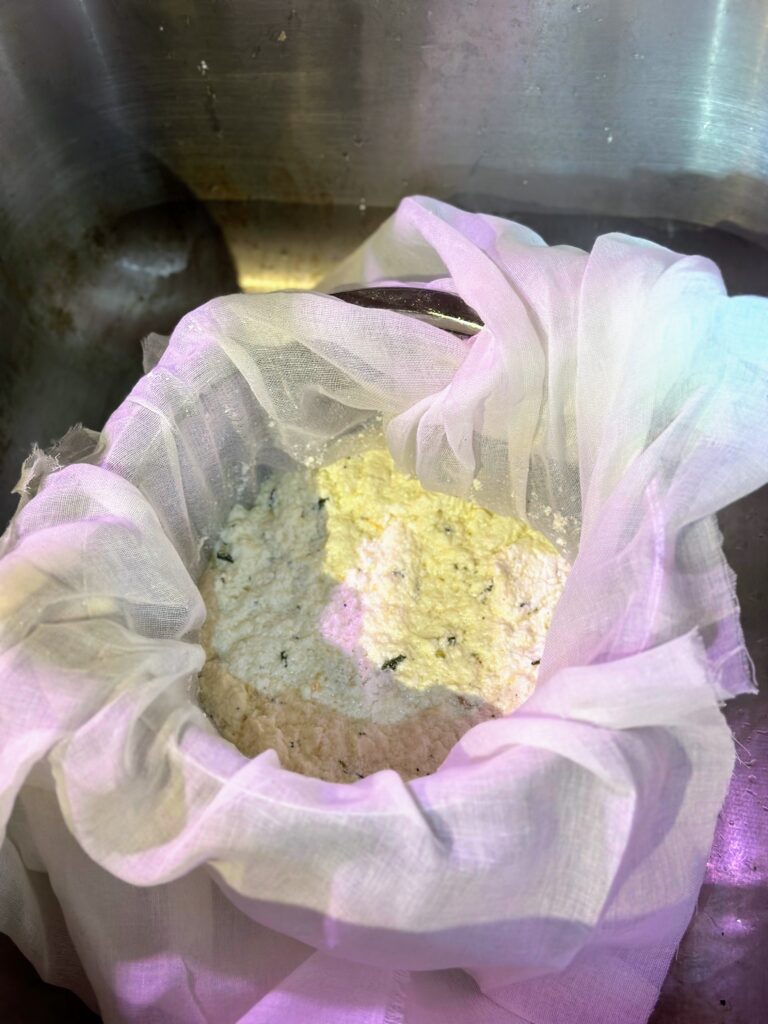
Line your strainer with a cheesecloth. Pour the cheese mixture into it. Tie the ends of the cheesecloth together and suspend the ball of cheese over the strainer by hanging it from your wooden spoon.
Your cheese will produce a lot of whey. The whey is very high protein. If you drain the whey into a bowl and save it, you can feed it to livestock or pour it on the soil of acid loving plants or mix it in with your dog food.
Once all of the whey has drained, you will end up with a round ball of delicious, mild farmer’s cheese!
Apple Scraps Vinegar
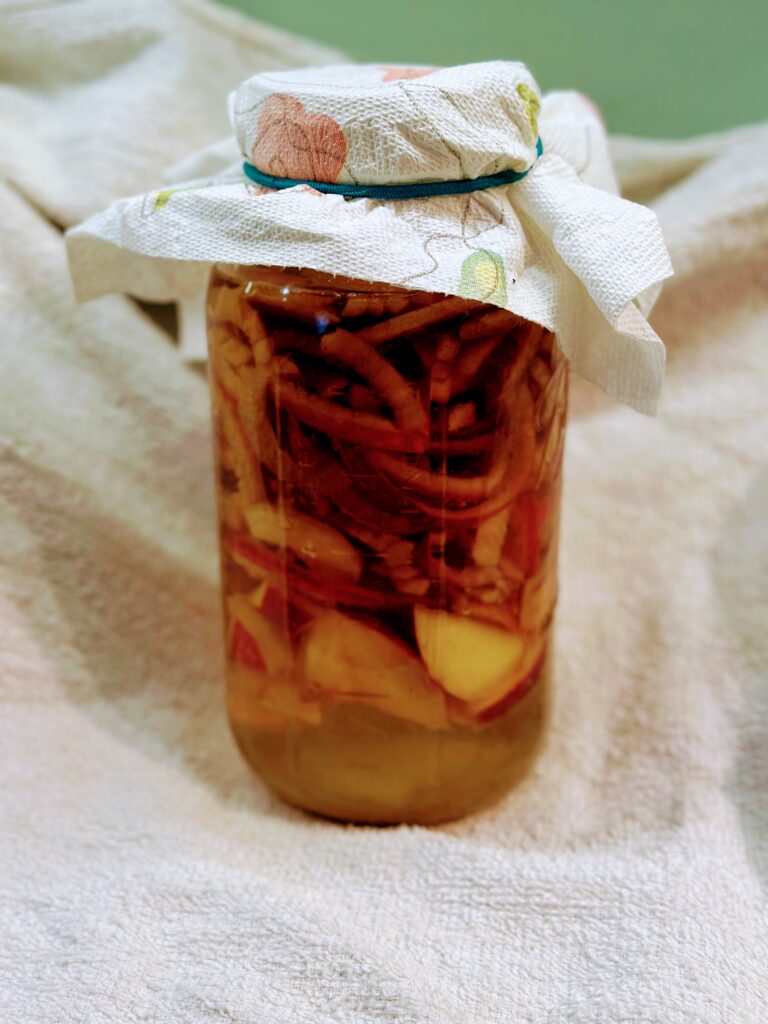
I am all about using every piece of food and reducing waste as much as possible. A great way to use kitchen scraps is to make apple scraps vinegar.
It’s incredibly easy.
Ingredients:
Apple peels, apple core, and cut up pieces apple if you like, although you can make the vinegar just from the peels and core -about one pound
Water – not chlorinated
White sugar – one tablespoon per cup
A few tablespoons of apple cider vinegar
Equipment:
A large glass mason jar – wide mouth, quart or half gallon, depending on how much you want to make
A fermentation weight Make sure that it’s the right size for the mason jar that you select. There are wide mouth and regular mouth sizes of mason jars.
A square of cheesecloth, or a paper towel.
A rubber band.
Yes, it really is that easy. As ever, you want to thoroughly wash your hands and wash the mason jar with hot soapy water and rinse it thoroughly. Rinse the fruit scraps well.
- Put the apple scraps in the mason jar
- Fill the jar up with water, leaving about an inch of headspace
- Put in the sugar, one tablespoon per cup of water
- Add a tablespoon or two of organic apple cider vinegar, to help your vinegar get started with the fermentation process
Cover the jar with the cheesecloth square or the paper towel, to let the ingredients breathe. Without oxygen, the fermentation process won’t work properly. Secure it with a rubber band.
Put the jar in a dark place like a cupboard, at room temperature. Take it out and stir it once a day to prevent the formation of mold.
After about two weeks, remove the apple scraps by straining them in a strainer, over a large bowl. Return the liquid to the mason jar and put the cheesecloth top back on. Let it sit for another 2 to weeks until it has reached desired sourness. Then you can put on a proper mason ring and top to store it, and you can use it on your salads or in cooking.
WARNING: While this vinegar is excellent for salads and cooking, it is likely not acidic enough to use in pickling. Pickling vinegar is recommended to be at least 5 percent acetic acid. It will be hard to test the acid level accurately in your home kitchen, so don’t risk it.